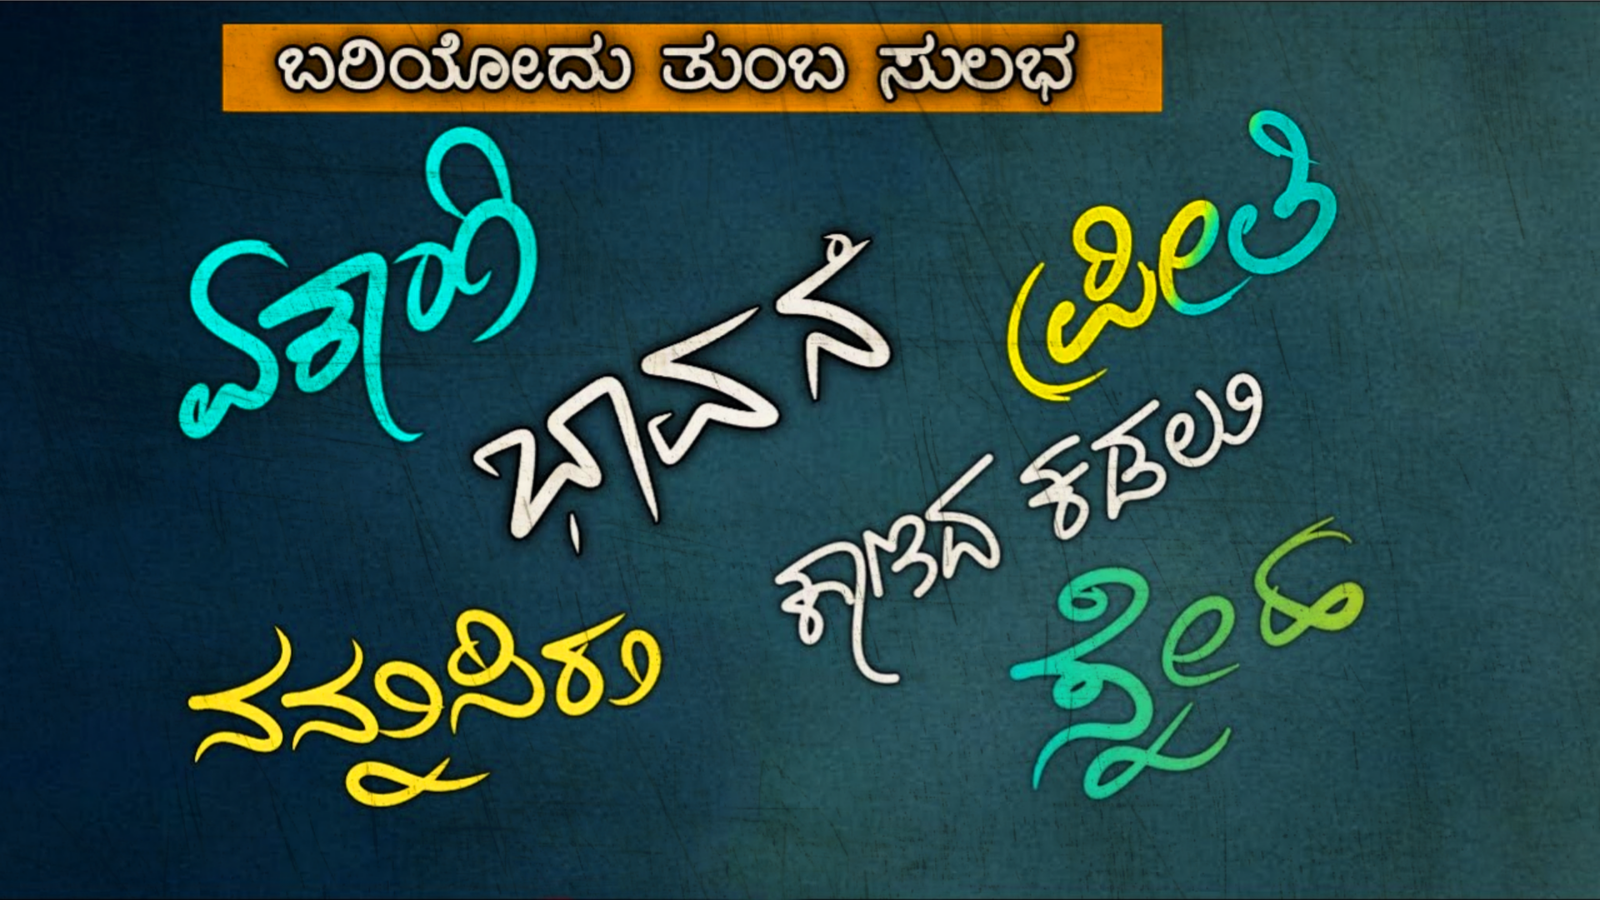
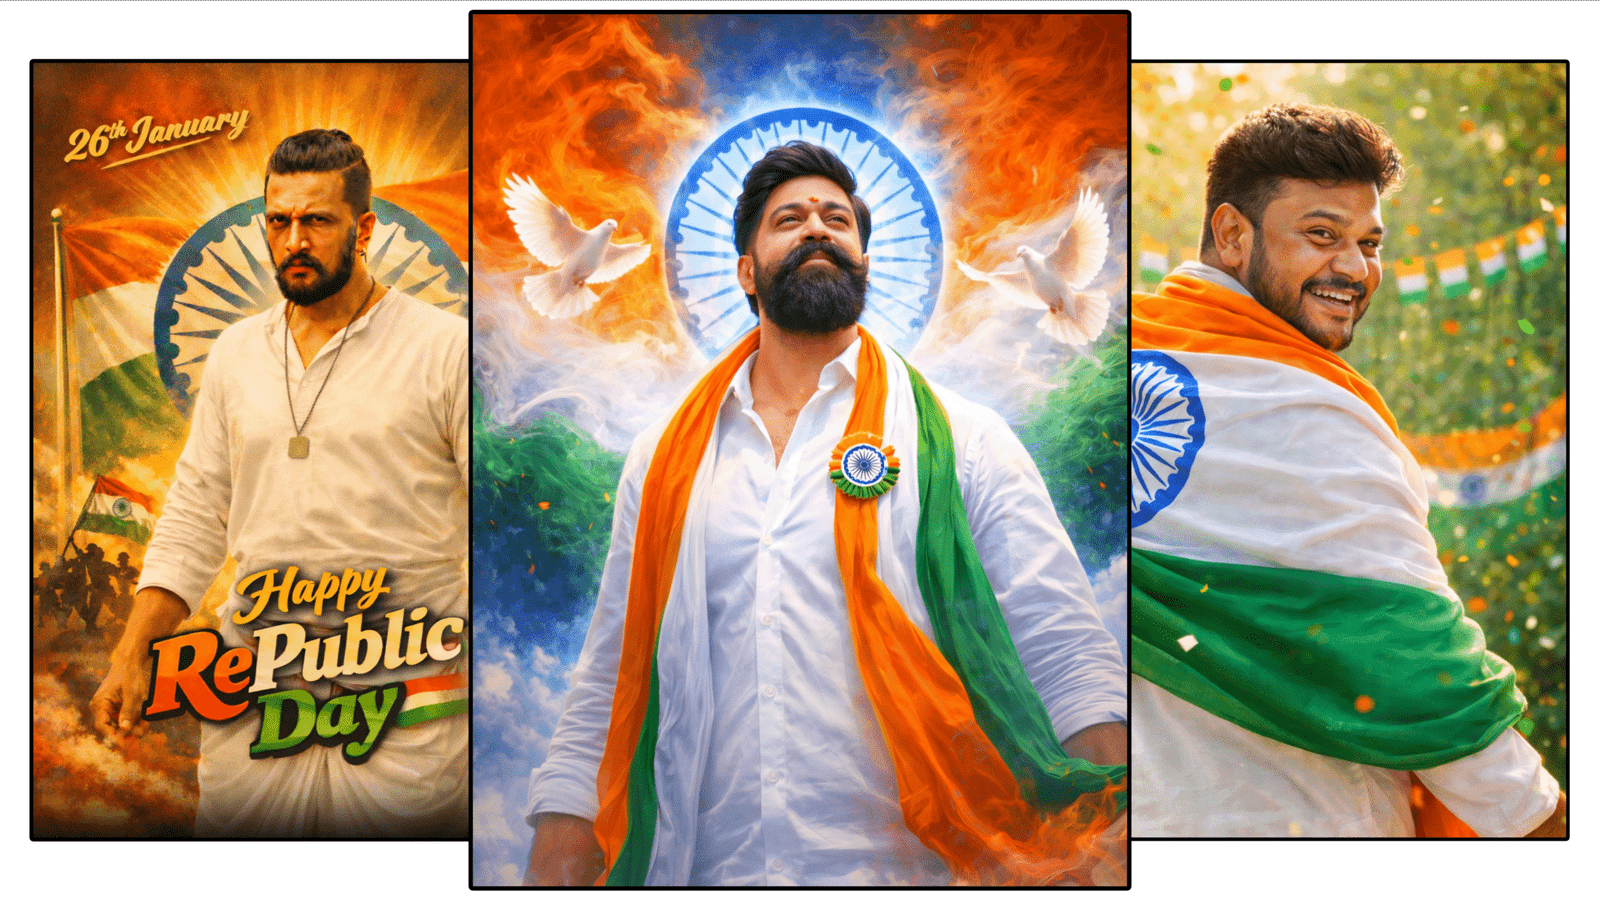
Designers, digital artists, and lettering enthusiasts often dream of creating their own unique fonts. Whether you’re a calligrapher who wants to digitize handwriting or an artist aiming to build a personal typeface, fonts add a personalized touch to digital creations. While Infinite Painter is primarily known as a versatile drawing and painting app for Android and iOS, many creators also use it to design fonts because of its flexible brush system, clean workspace, and powerful vector-like controls.
If you want to create your own font using Infinite Painter, this guide explains the step-by-step process in a detailed and practical manner.
1. Understanding Infinite Painter’s Role in Font Creation
Before jumping into the process, it’s important to know that Infinite Painter is not a dedicated font-creation software like FontForge, Calligraphr, or Glyphs. Instead, it’s a drawing environment where you can design the letters, numbers, and symbols that will later be converted into a working font file using a font-building tool.
So, the actual workflow is:
- Draw and design your letters in Infinite Painter.
- Export them as images (PNG/JPEG).
- Use a font creator tool (like Calligraphr, Glyphr Studio, or FontForge) to convert those designs into a usable font (TTF/OTF).
Infinite Painter serves as the creative canvas where your unique letterforms come alive.
2. Preparing Before You Start
Creating fonts requires a structured approach. Here are the steps to prepare before opening Infinite Painter:
- Decide the style of your font: Serif, Sans-serif, Script, Handwritten, or Decorative.
- Choose your brush: In Infinite Painter, brushes simulate pens, pencils, markers, and calligraphy nibs. Choose one that matches the intended look. For example, a calligraphy brush for elegant script, or a pencil brush for sketch-style fonts.
- Set your canvas size: A high-resolution canvas (around 2000×2000 pixels for each character) ensures clarity when you later scale the font.
- Create a character checklist: Standard fonts require at least uppercase (A–Z), lowercase (a–z), numerals (0–9), and common punctuation. You can expand later.
3. Step-by-Step Guide to Drawing Fonts in Infinite Painter
Step 1: Open Infinite Painter and Create a New Project
- Tap New Canvas and set dimensions around 2000 x 2000 px with 300 dpi resolution.
- Use a white background for clarity.
Step 2: Set Guidelines
Fonts must be uniform in size. Use Infinite Painter’s Guide tools (Grid or Ruler) to align characters. Mark important lines:
- Baseline – where letters sit.
- X-height – height of lowercase letters.
- Cap height – top of uppercase letters.
- Ascender/Descender lines – for tall and low strokes.
Step 3: Choose Brushes for Lettering
Infinite Painter has customizable brushes. For font creation, you may prefer:
- Calligraphy brush (for flowing, script-like fonts).
- Ink brush (for bold, clear strokes).
- Pencil brush (for sketching characters before finalizing).
Step 4: Start Drawing Alphabets
- Begin with uppercase letters (A–Z).
- Draw each character on a separate canvas or layer for easy export.
- Keep strokes consistent to ensure uniformity.
Step 5: Add Lowercase, Numbers, and Symbols
Once uppercase is done, repeat the same for lowercase letters. Then add digits (0–9), punctuation marks, and optional special symbols.
Step 6: Refine the Shapes
Use Infinite Painter’s Eraser, Selection, and Transform tools to refine letters. Smooth uneven lines, adjust thickness, and keep balance across all characters.
Step 7: Save and Export Each Character
When a character is ready:
- Hide extra layers or guides.
- Export as a PNG with a transparent background.
- Name files systematically (example: “A.png”, “B.png”, etc.).
4. Converting Drawings into Usable Fonts
After designing letters in Infinite Painter, you need to assemble them into a real font file. Here’s how:
Option 1: Using Calligraphr
- Visit Calligraphr.com.
- Upload your PNG images of each letter.
- Align them in the template provided.
- Export as TTF/OTF font.
Option 2: Using FontForge (Free Software)
- Install FontForge on desktop.
- Open a new font project.
- Import each PNG design into the corresponding letter slot.
- Adjust baseline and spacing.
- Export as .ttf file.
Option 3: Using Glyphr Studio (Web-based)
- Upload characters one by one.
- Use built-in tools to clean edges.
- Export the completed font.
5. Tips for Professional Font Creation
- Consistency is key: Ensure the same thickness, curve style, and proportion across all characters.
- Test readability: Fonts should be legible in both large and small sizes.
- Work in batches: Instead of finishing all characters at once, design a small set (A–F) and test them in a font tool before completing the rest.
- Spacing and kerning: When building the font, adjust spacing between letters (kerning) so words don’t look uneven.
- Save backups: Keep layered Infinite Painter files in case you need to edit characters later.
6. Advantages of Using Infinite Painter for Font Design
- Custom Brushes: You can replicate different mediums (ink, watercolor, pencil, marker).
- Layer Flexibility: Designing on separate layers makes refining easier.
- Mobile Friendly: Create fonts on-the-go without needing a computer.
7. Limitations to Keep in Mind
- Infinite Painter itself does not export fonts. You’ll always need an external tool to generate TTF/OTF files.
- Precise kerning and spacing are better handled in dedicated font editors.
- Complex fonts with multiple styles (bold, italic) may require advanced software beyond Infinite Painter.
8. Practical Use of Your Custom Font
Once your font is ready, you can use it in:
- Graphic design projects (posters, flyers, ads).
- Digital branding (logos, business cards, websites).
- Social media content for a unique identity.
9. Final Thoughts
Creating fonts in Infinite Painter is a rewarding journey for artists and designers who love personalization. While Infinite Painter itself does not produce font files, it serves as an excellent platform for drawing and designing characters with full creative freedom. By combining Infinite Painter’s drawing strengths with a font-building tool, you can transform your sketches into fully functional fonts.
It’s not just about making letters—it’s about expressing your artistic identity. With patience, consistency, and a bit of technical work, you can craft a font that reflects your personal style and can be used across digital platforms.


